The Importance of Proper Roof Flashing

Of all the components that make up a roofing system, flashing is the one most likely to cause a leak — and the one most homeowners know the least about.
Shingles get most of the attention. But the places where a roof is most vulnerable to water intrusion aren't in the middle of a shingle field. They're at the transitions — where the roof meets a chimney, where two roof planes intersect, where a vent pipe or skylight penetrates the surface. Those transitions are where flashing lives, and when flashing fails, water finds a path.
Understanding what roof flashing does and why proper installation matters is one of the more useful things a homeowner can know about their roof.
What Roof Flashing Actually Is
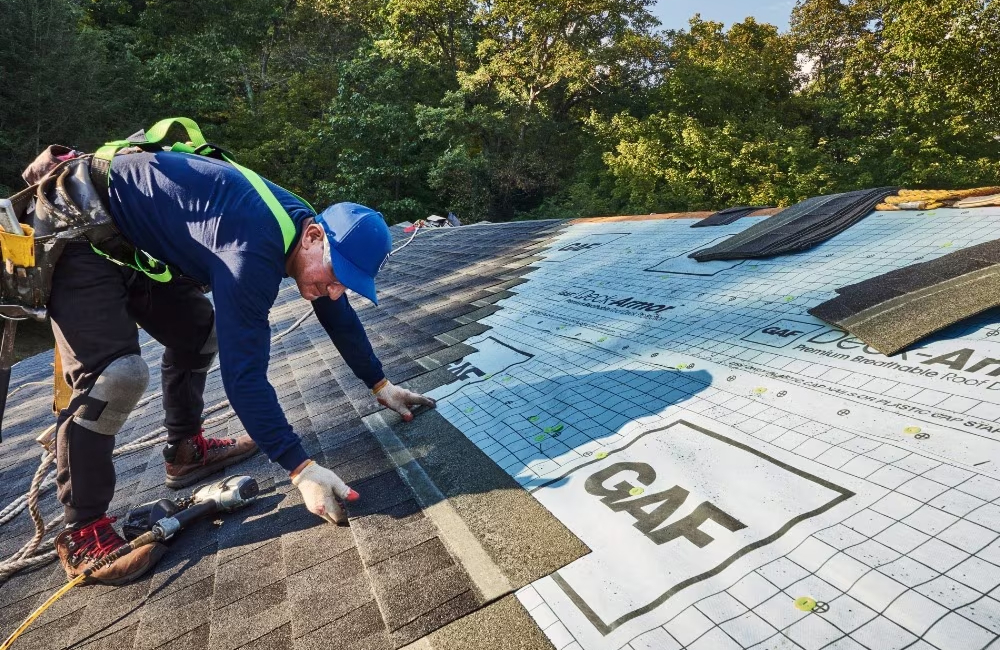
Roof flashing is thin metal — typically galvanized steel, aluminum, or copper — installed at transitions and penetrations in the roof system to direct water away from vulnerable areas and into the drainage path. It's not decorative and it's not structural. Its job is purely to control water movement at the points where the roof surface is interrupted.
When a roof is a continuous, unbroken surface, water runs off predictably. The moment that surface is interrupted — by a chimney, a wall, a valley where two slopes meet, or a pipe coming through the deck — you have a seam. Without flashing sealing that seam correctly, roof moisture finds its way in. It doesn't need much of an opening. A gap of a few millimeters, maintained through freeze-thaw cycles or wind stress, is enough to drive water intrusion over time.
Where Flashing Is Installed
Proper roof flashing covers every transition point on the roof. The most common locations:
- Chimneys. One of the highest-failure areas on any residential roof. Chimney flashing involves multiple pieces — base flashing, counter flashing, and step flashing — that must work together to account for the fact that the chimney and the roof expand and contract independently. Improper chimney flashing is one of the leading causes of water intrusion in older homes.
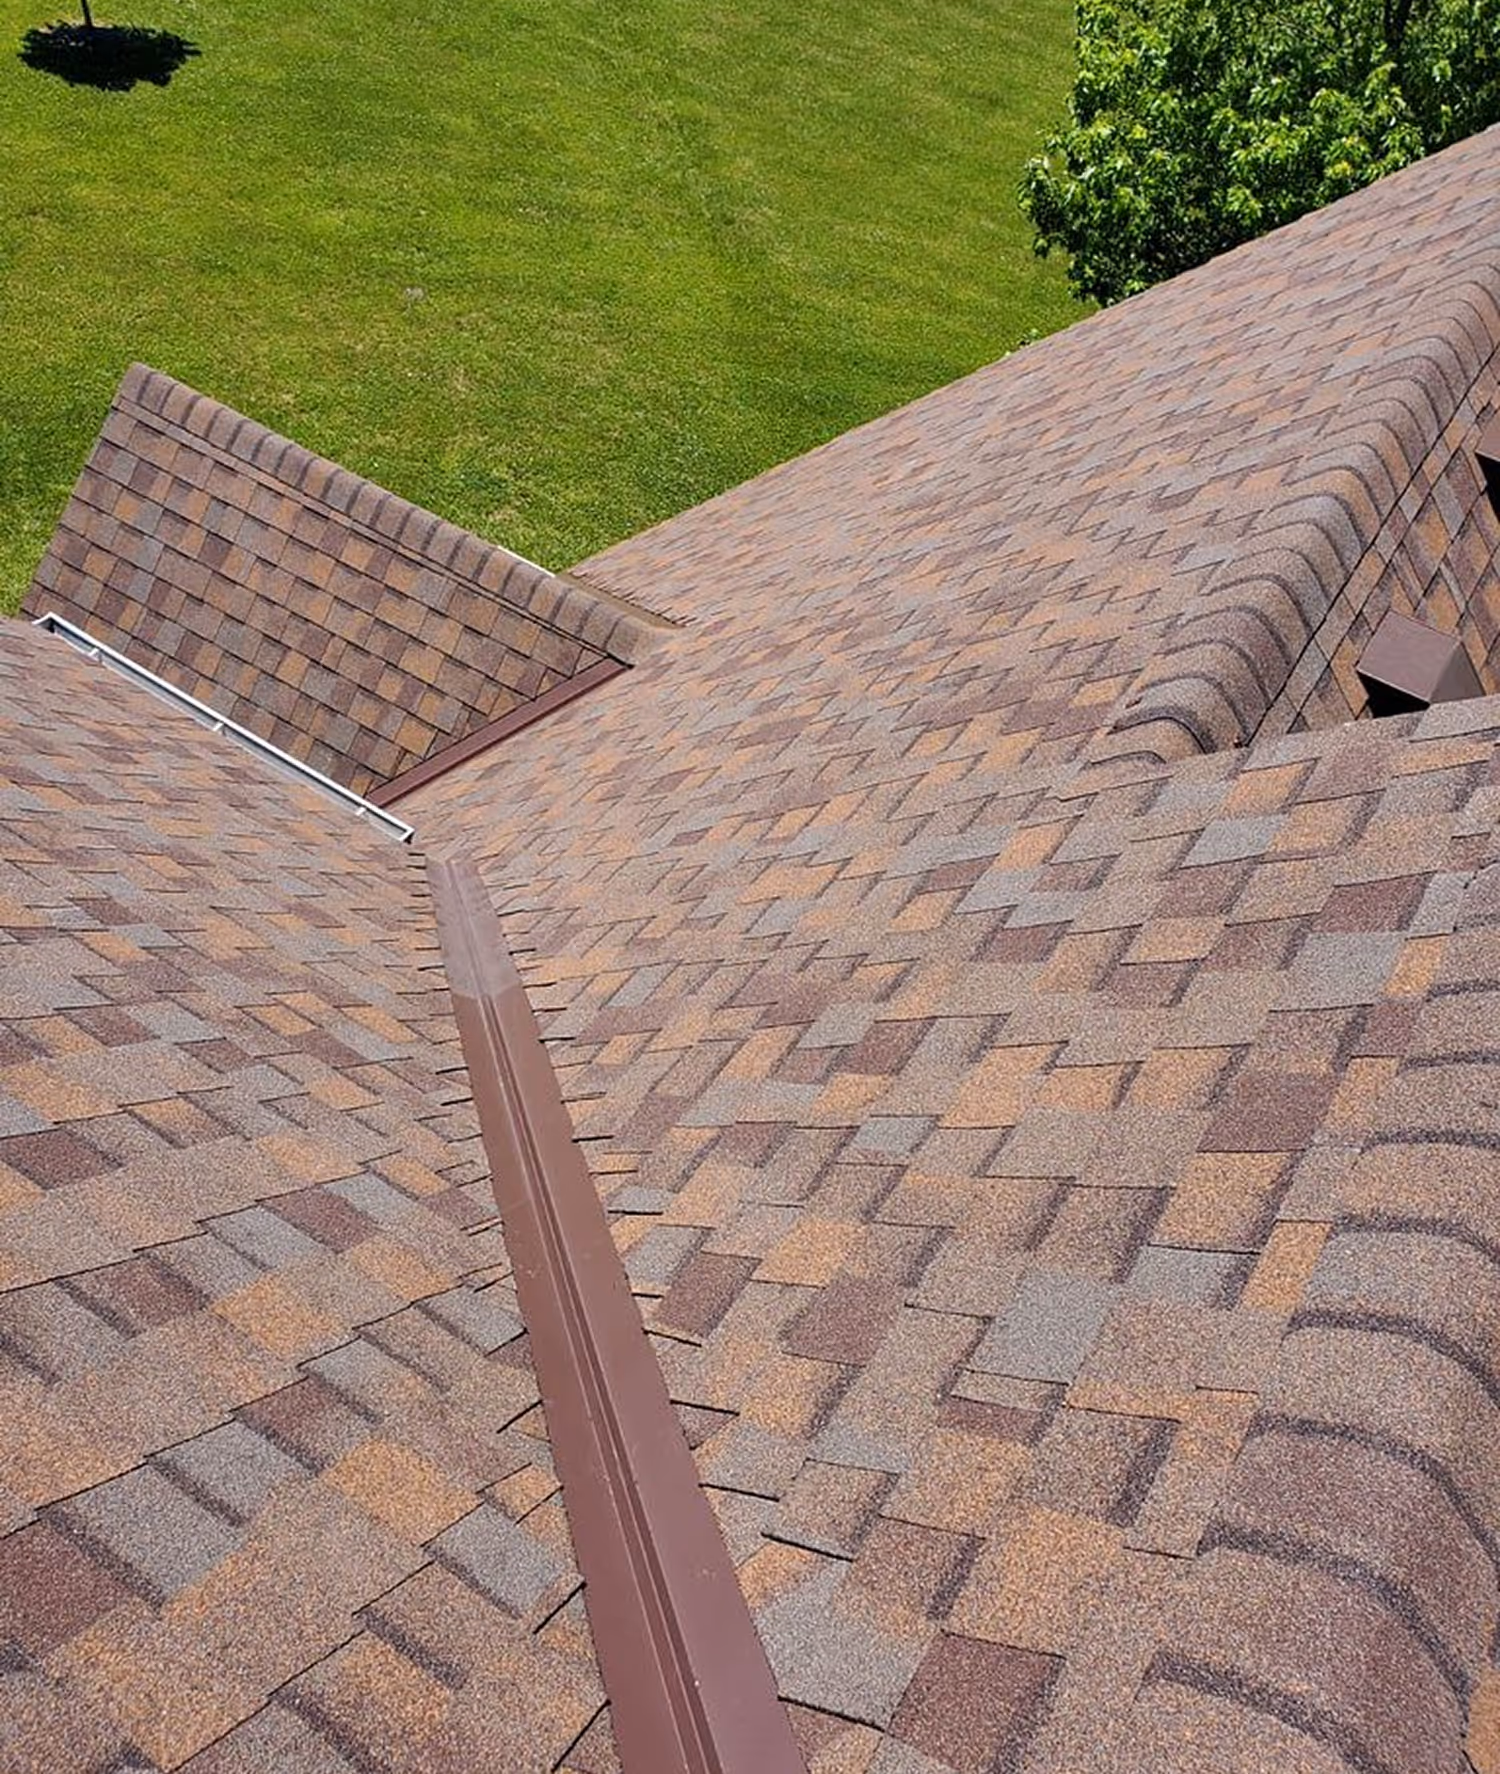
- Roof valleys. Where two roof slopes meet, water volume concentrates and runs fast. Valley flashing directs that water down and off the roof edge rather than letting it work underneath the shingles. Both open-metal and closed-cut valley installations rely on correctly installed flashing beneath the surface.
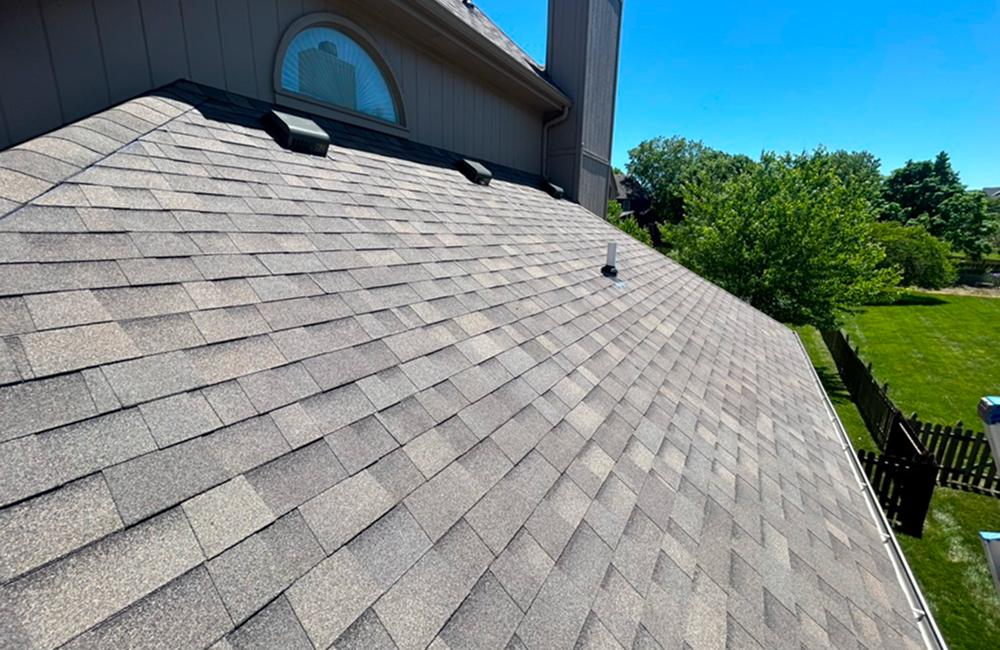
- Roof edges and drip edges. The roof edge where shingles terminate over the fascia is protected by drip edge flashing — a simple but critical piece that prevents water from wicking back under the shingles and into the fascia or soffit. Missing drip edge is one of the most common installation shortcuts, and the rot damage it causes often doesn't show up for years.
- Wall transitions. Where a roof plane meets a vertical wall — on dormers, additions, or anywhere a roof abuts siding — step flashing and counter flashing seal the joint. These areas are exposed to wind-driven rain and require flashing that can flex with the building's movement over time.
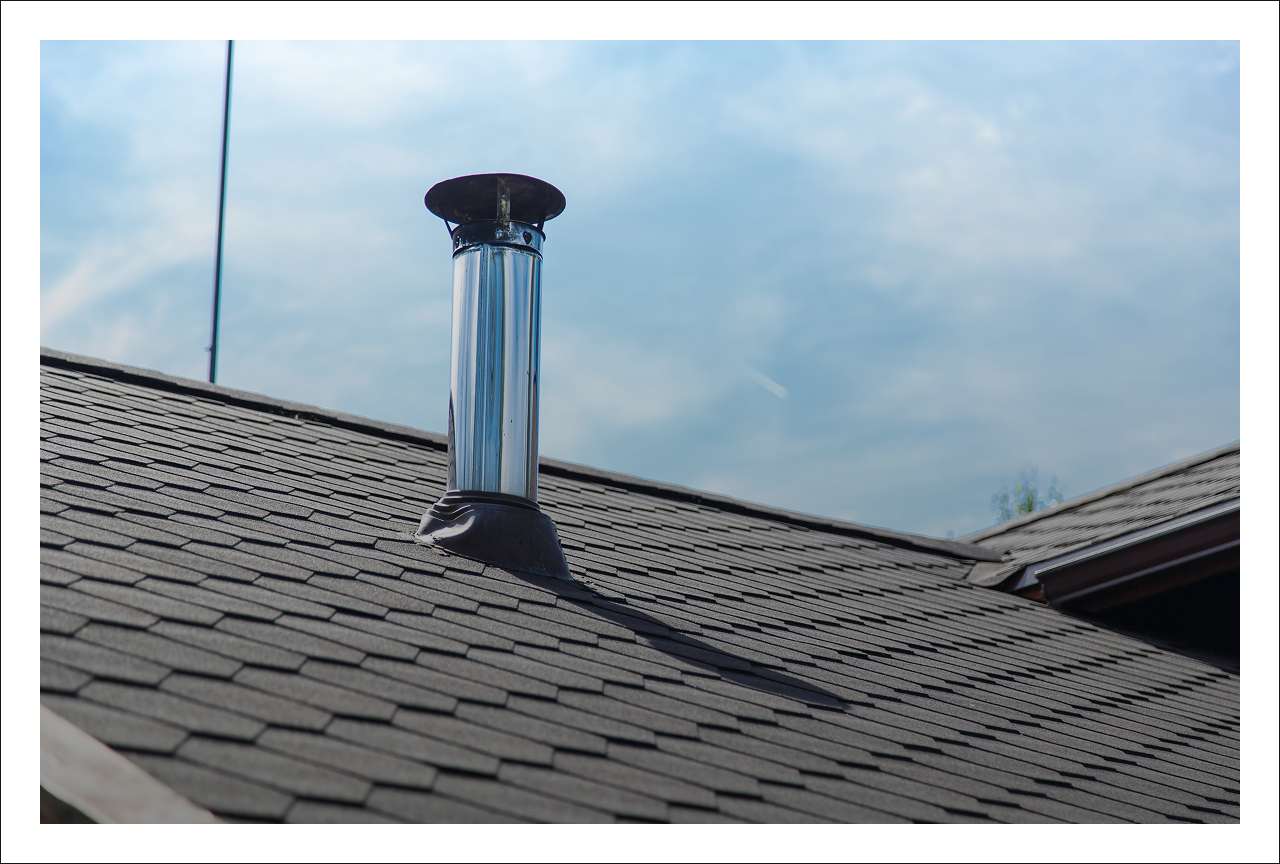
- Penetrations. Every pipe, vent, or skylight that comes through the roof deck requires a sealed flashing collar. Pipe boots are the most common — a rubber-gasketed metal flashing that seals around the pipe. They degrade with UV exposure over time and are a frequent source of slow leaks.
Why Proper Installation Matters
The importance of proper roof flashing comes down to one thing: flashing is doing the hardest job in the roofing system at the highest-risk locations, and it's often installed incorrectly.
Common installation failures include:
- Flashing that is nailed through rather than overlapped — nails through exposed flashing create water entry points.
- Caulk used as a substitute for properly overlapped metal — caulk fails within a few years of UV and temperature cycling; properly lapped flashing can last the life of the roof.
- Valley flashing installed too narrow — not wide enough to handle the water volume that concentrates in active valleys, especially in heavy rain or spring snowmelt.
- Drip edge omitted at the eaves — a code requirement in many jurisdictions that gets skipped on budget installations.
- Chimney counter flashing embedded in mortar without reglets — when the mortar cracks, the flashing separates from the chimney and the seal fails.
These aren't edge cases. They're common enough that roof inspectors specifically check flashing at every transition point as a standard part of any assessment.
Flashing and Wind Resistance
Proper flashing also plays a role in a wind resistant roof system. At the roof edge, correctly installed drip edge and starter course integration help prevent shingle lift in high wind events. At wall transitions, flashing that is properly counter-flashed prevents wind-driven rain from being forced behind the flashing line — a failure mode that happens in storms even when the flashing looks intact from the exterior.
In Kansas City, where severe thunderstorms bring both high wind and heavy rain simultaneously, the combination of proper flashing and quality shingle installation is what separates roofs that perform in those conditions from ones that develop problems afterward.
Humidity and Moisture Intrusion
Even without a visible leak, failed flashing contributes to humidity damage to roofs over time. Moisture that enters slowly at a poorly sealed chimney or wall transition doesn't always show up as a dripping ceiling immediately. It saturates insulation, wets the roof deck, and creates conditions for mold and wood rot that can develop for years before a homeowner notices interior symptoms.
Roof moisture problems of this type are often more expensive to remediate than a visible leak would have been — because by the time they're diagnosed, the damage has extended into the framing or insulation rather than staying at the surface.
This is why flashing inspection is a meaningful part of any annual roof check, not just a post-storm item. Flashing failure is gradual. Catching it before it allows sustained moisture intrusion is the difference between a flashing repair and a decking replacement.
What to Look For
Homeowners can do a basic visual check from the ground or during gutter cleaning:
- Visible gaps or separation between flashing and chimney or wall surfaces.
- Rust staining running down from flashing areas.
- Caulk that is cracked, shrinking, or pulling away from surfaces it's meant to seal.
- Pipe boots that look cracked or collapsed around the pipe stem.
- Missing drip edge at the eaves — visible as shingles that overhang directly over the fascia with no metal edge visible.
Any of these warrant a closer look by a professional. They don't always mean active leaking is occurring yet — but they do mean the seal has been compromised and water intrusion is a question of when, not if.
The Bottom Line
Proper roof flashing is not a detail — it's one of the most consequential components in the entire roofing system. A roof with quality shingles and failed flashing will leak. A roof with adequate shingles and properly installed flashing will stay dry. If you're scheduling a roof inspection or dealing with a suspected leak, a contractor who pays close attention to flashing at every transition is doing the job right. For questions about your roof's condition or to schedule a roof repair assessment, Easton Roofing can help.
Related News & Articles
Stay informed with expert insights, practical tips, and real stories to protect your property and plan smarter improvements every season.


Don’t Miss The Next Property Tips & Advice
Fresh guidance on roofing and property care, delivered straight to your inbox. Stay informed, stay ahead, and keep your investment protected.